Seven years ago I started following a mind-blowing space mission Rosetta, by the European Space Agency (ESA). I created a large set of artwork, spanning from interactive paintings, music and video collaborations and ceramic sculptures. I met so many scientists involved with the mission, I visited ESTEC, ESA and even exhibited my work there. So much was achieved, it was a long run and yet this is not the end.
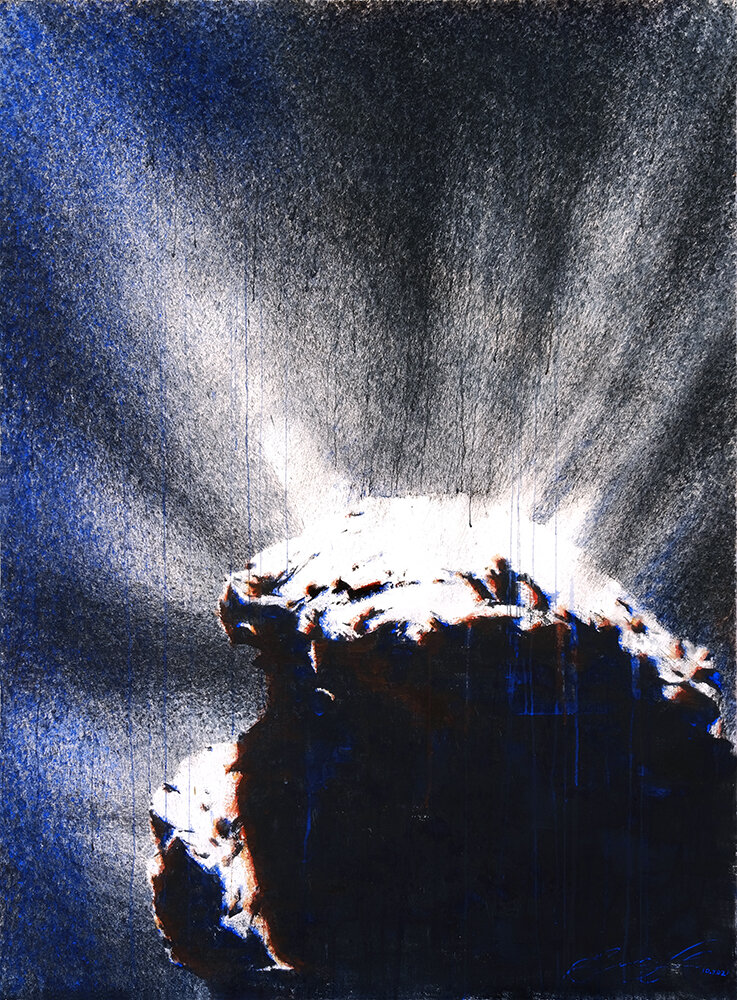
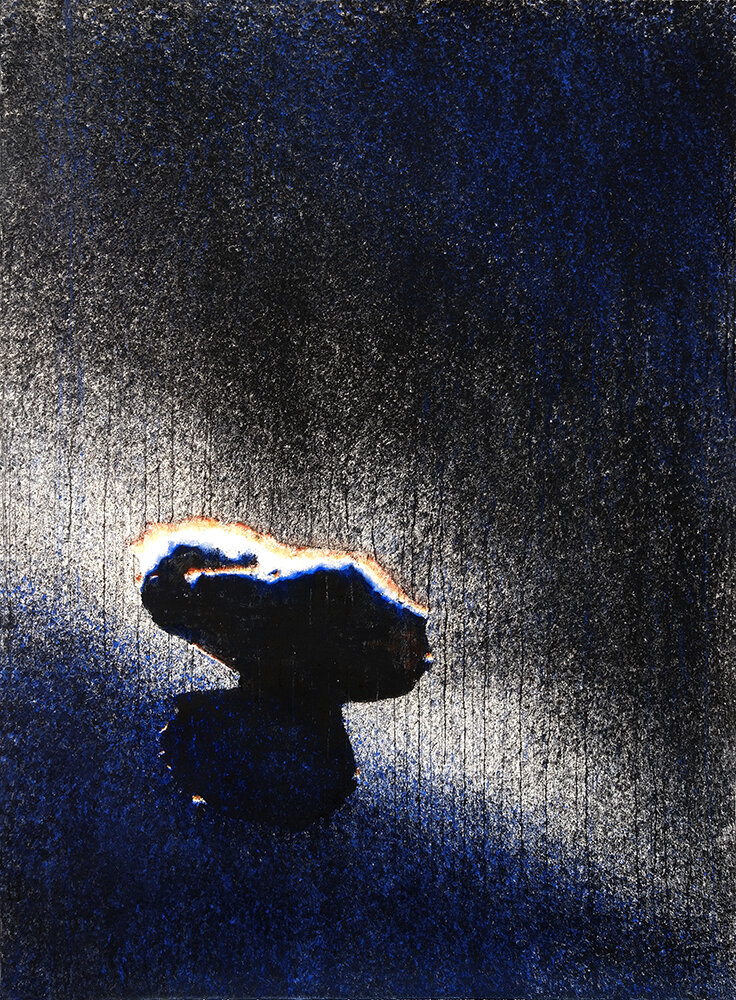
The center of the project is a comet, 67P Churyumov-Gerasimenko. The Rosetta mission not only sent a space craft to this comet but also landed a small lander called Philae. A lot of research was done during this mission, so much important data was collected and is still being studied. “P” in the name of the comet 67P stands for periodic which means it comes back, the orbital period is 6.45 years. And for its return at the end of 2021 I have created two new paintings of the comet about which I would like to talk in this article.

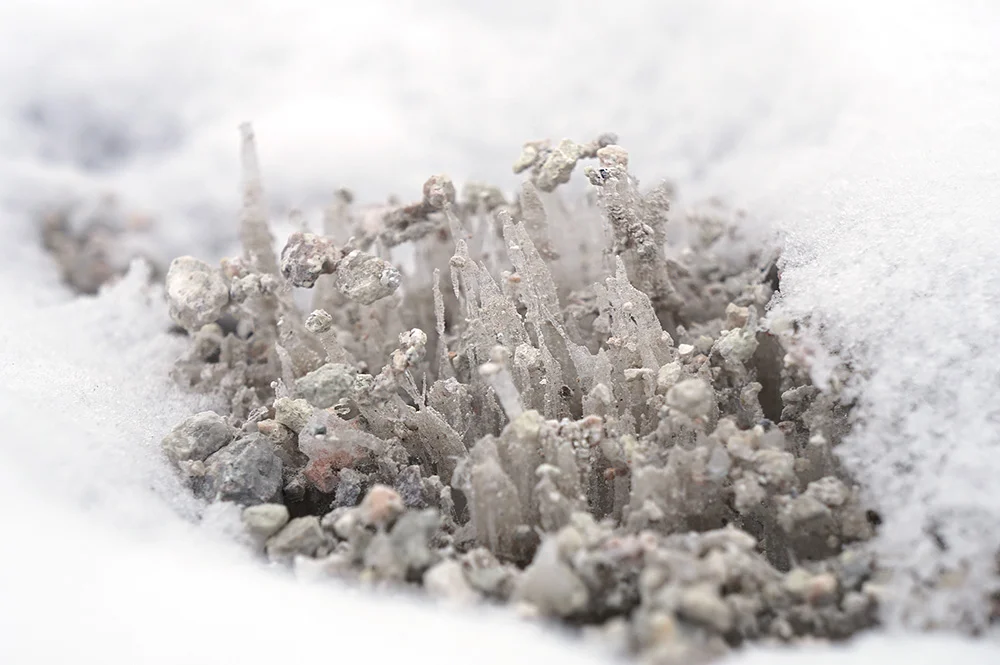
Enriching water with D2O via electrolysis
Comets played a big role for our planet. They delivered most of the water to Earth, as comets are mostly made of ice and dust, scientists even call them “dirty snowballs”. Comet 67P also has a lot of water, though it has three times higher amount of D2O than on Earth. For my watermedia paintings in my studio lab I generated D2O enriched water using electrolysis. I did the same for my new work but this time I added something special.
There is a very interesting subject I would like to address in my new work. And this subject relates to you and I, as well as all other living creatures, big or small, alive or long gone. Let talk about life and how it came to be.
This question never gets old. Everyone at some point wondered how did life come to Earth. God? Aliens? But let’s hypothesize that comets has something to do with it. Well, they brought water, and life as we know it can not exist without water. Comets also brought very important ingredients that living beings are made of. In the case of Comet 67P it is Phosphorus (essential for the creation of DNA), a multitude of organic molecules (methylamine and ethylamine) and most importantly amino acid like glycine (DNA is made of amino acids).
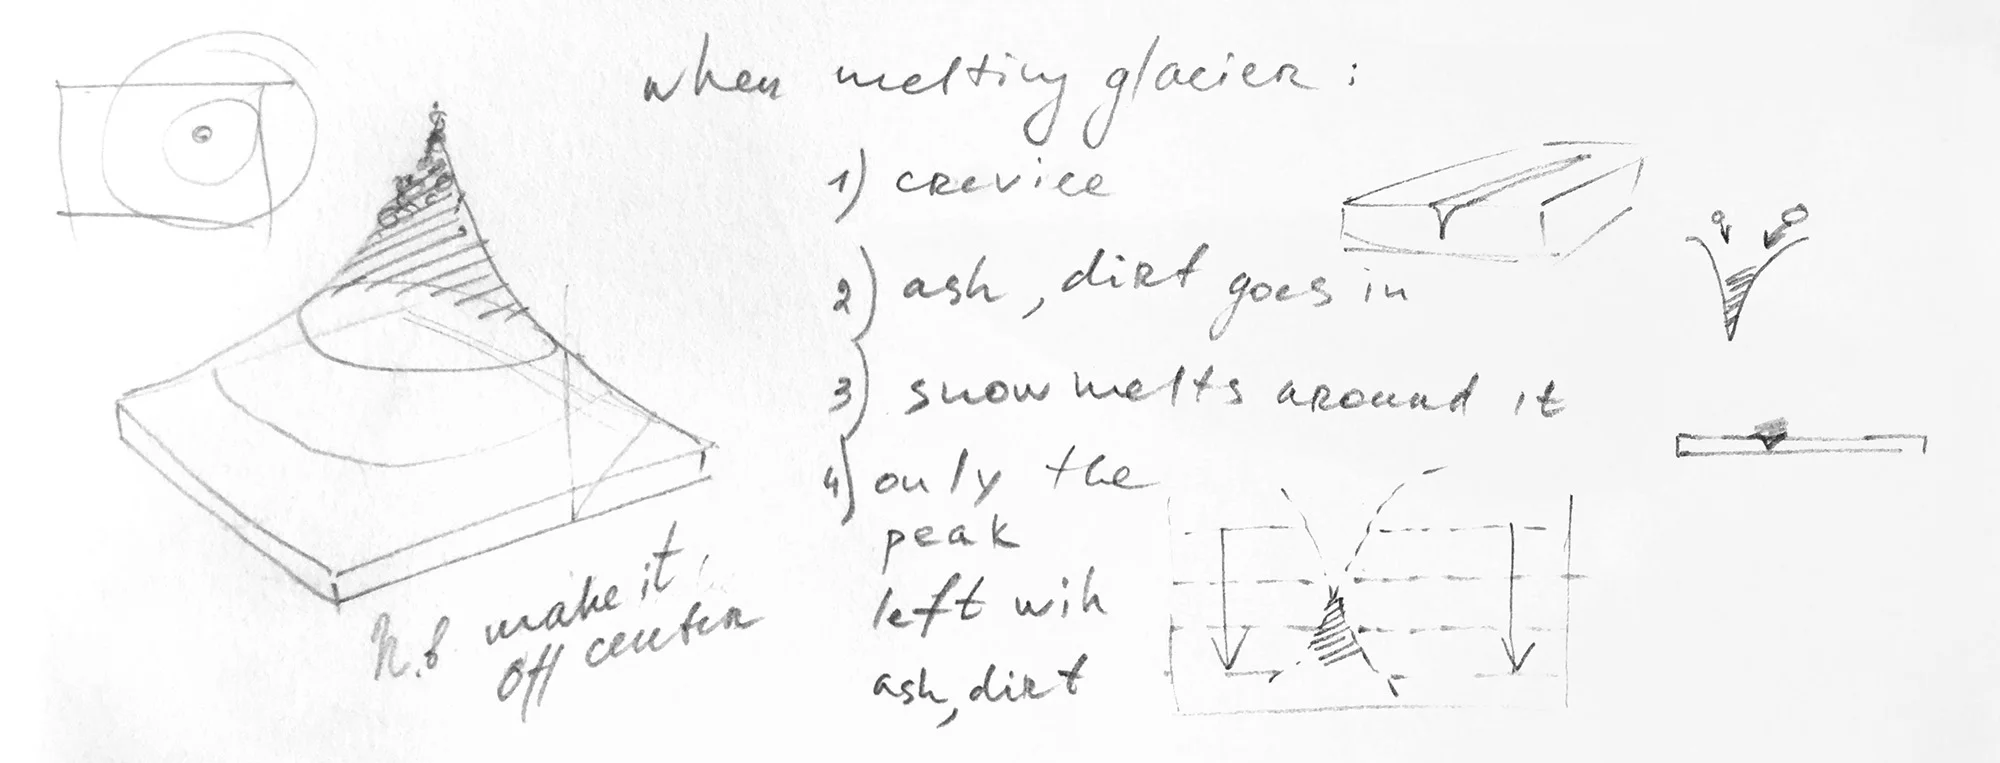
Once crucial-for-life-forming ingredients got to Earth they had to wait until the Earth cooled off enough to let water rain down and accumulate on the surface of the planet. Because it is then, scientists believe, that the first primitive life formed in hot springs. Keeping in mind all of the mentioned above I decided to add a living organisms in the water I was painting with, in a way making a parallel with comets being vessels of life, traveling across space and bringing fertile seeds to planets like Earth.


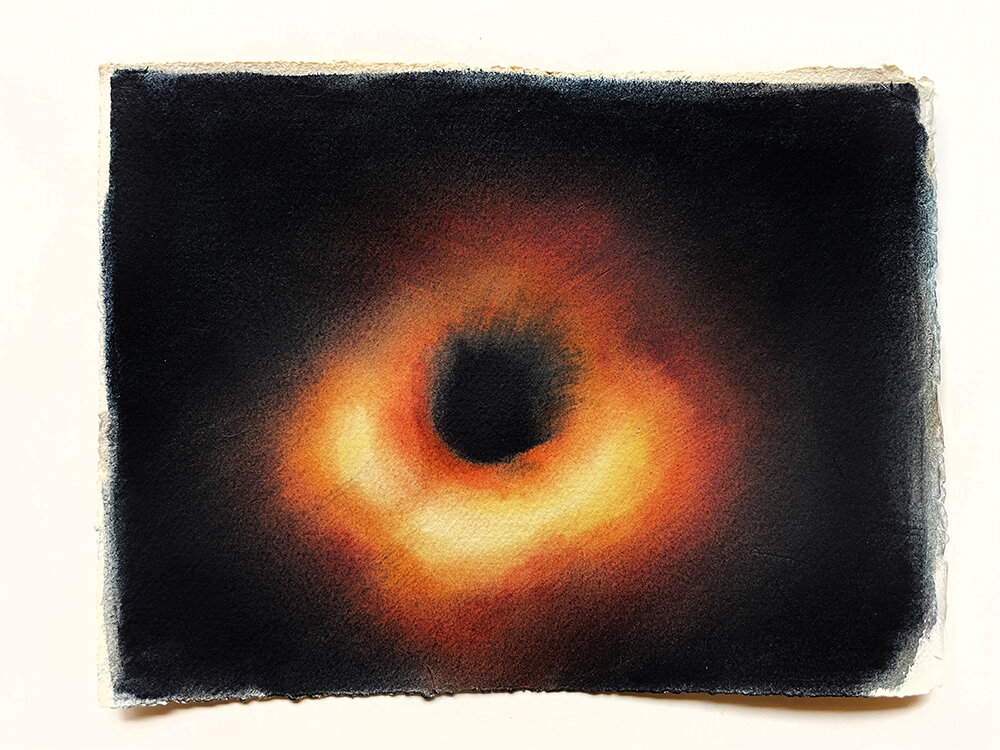
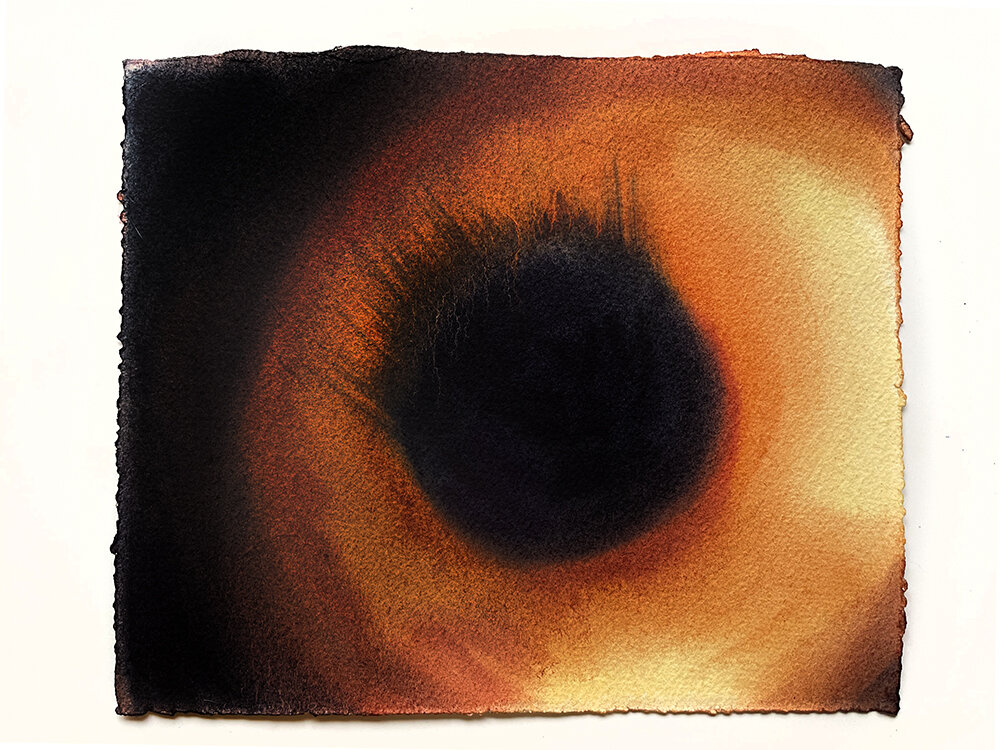
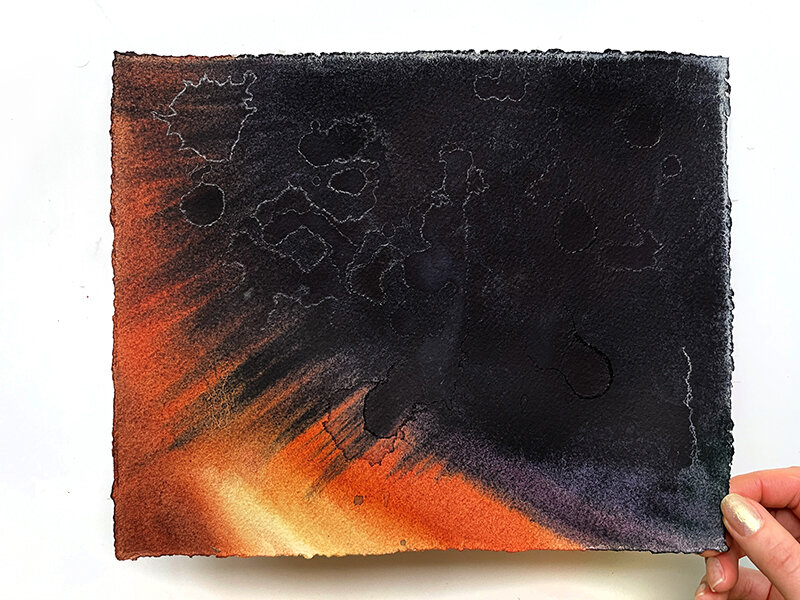
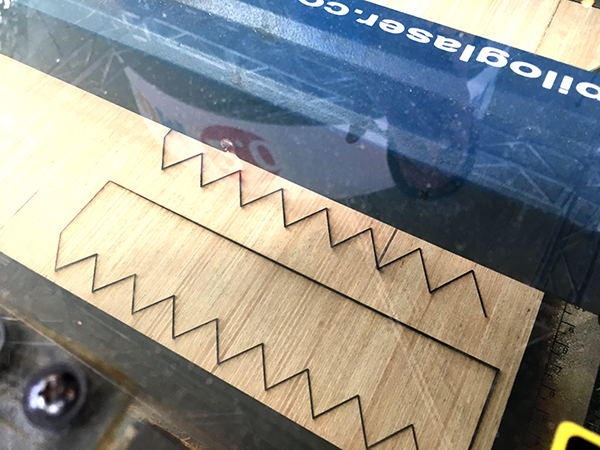
To accomplish my plan and represent earlier life in its primitive form I grew colonies of bacteria in petri dishes. Bacteria are invisible but they are all around us, so I had no problem finding it. I sampled bacteria directly from my 3D printed model of Comet 67P, I added it in the petri dish, placed the dish in a warm place and watched it grow for a week. Very soon I saw varies round shapes of bacterial colonies appearing, some were smooth, some were fuzzy. I sampled that bacteria from the dish and added in into the heavy water (D2O) enriched water with which I painted the work.

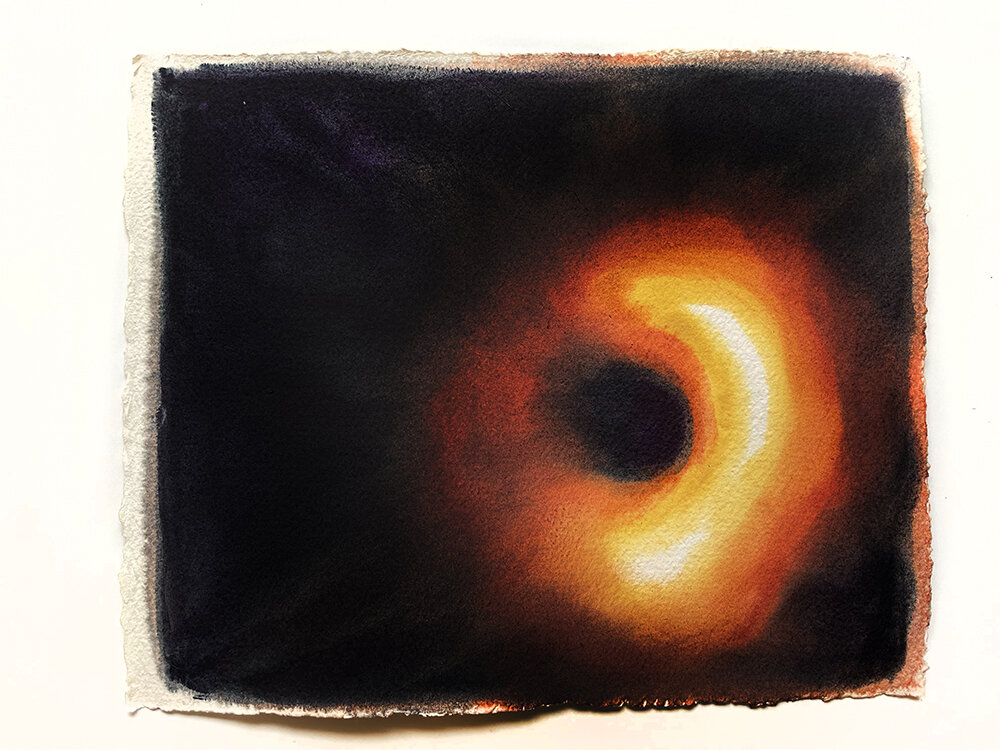
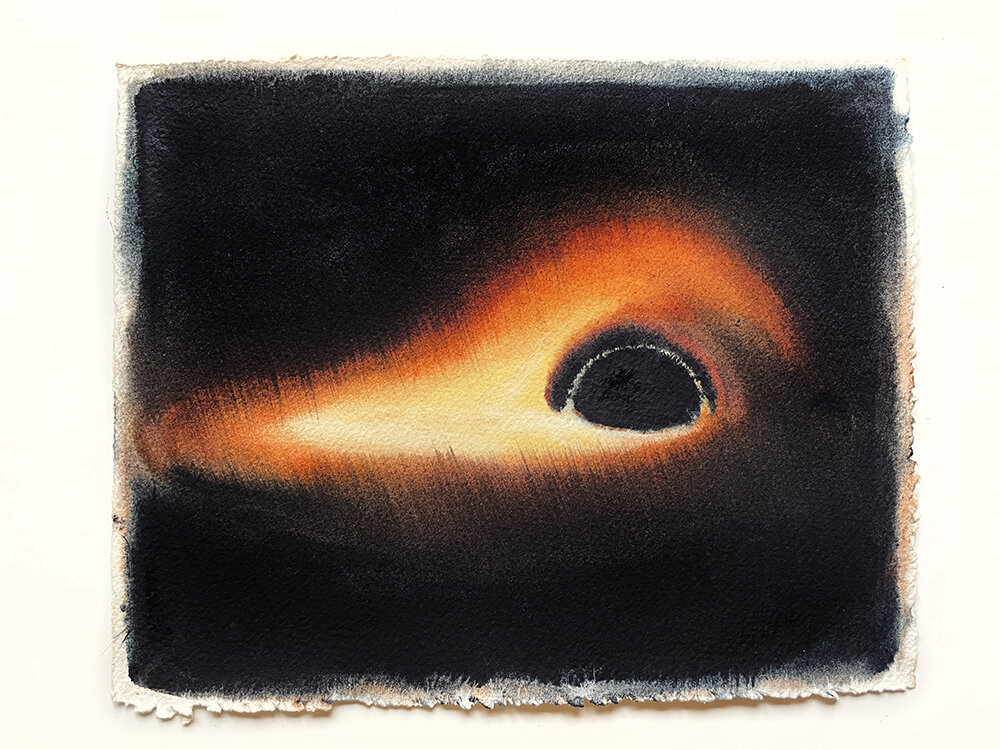
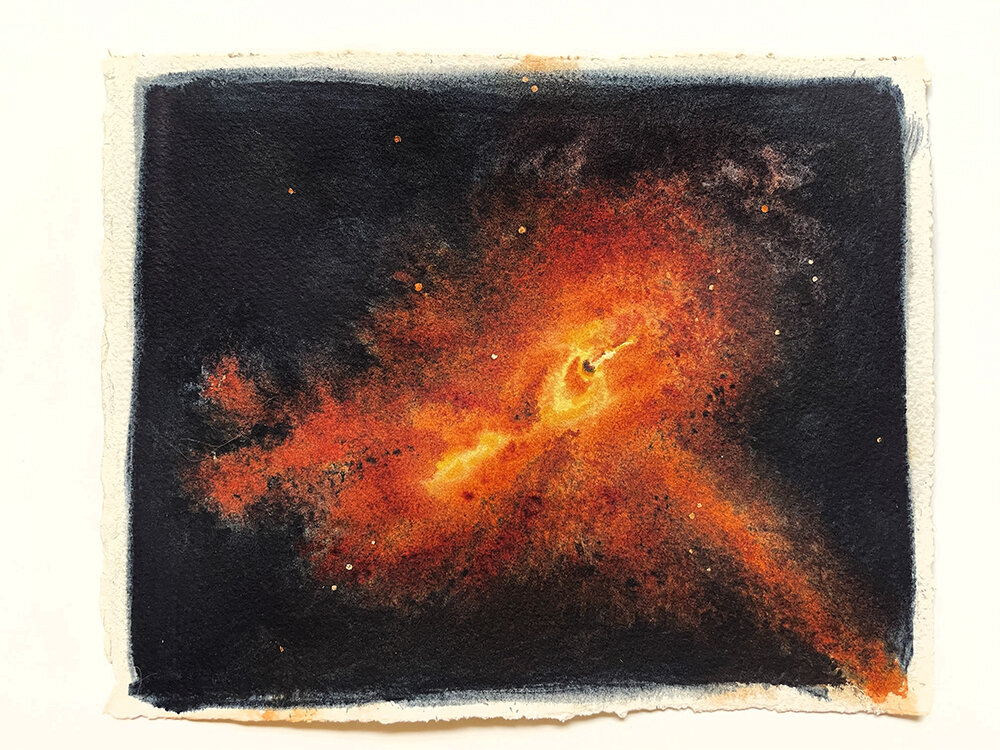
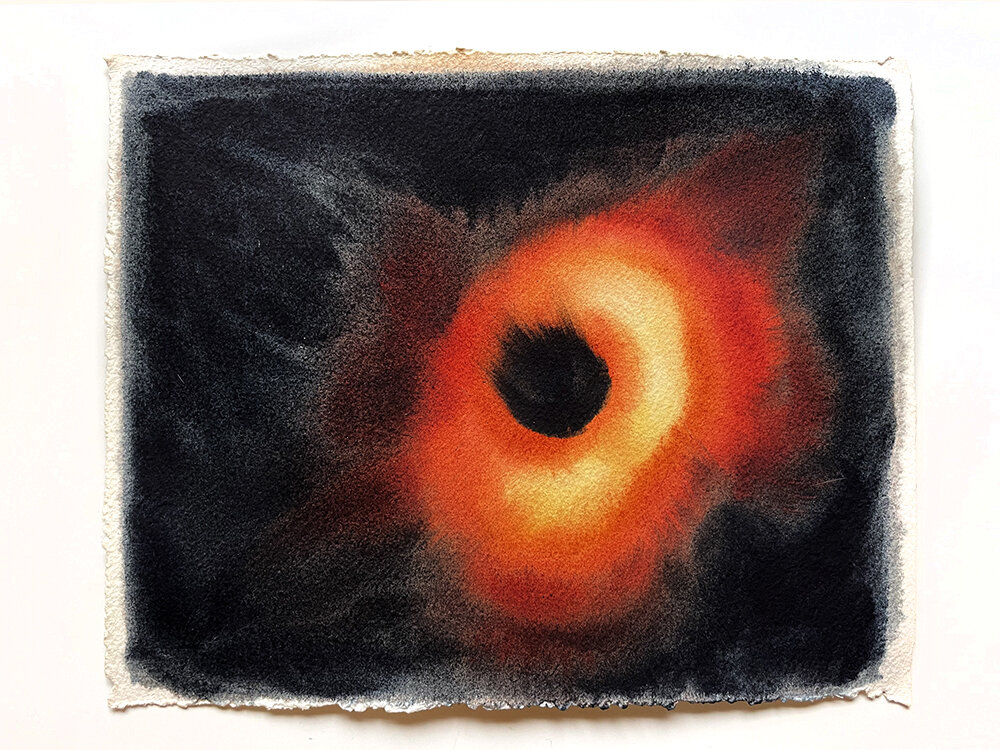
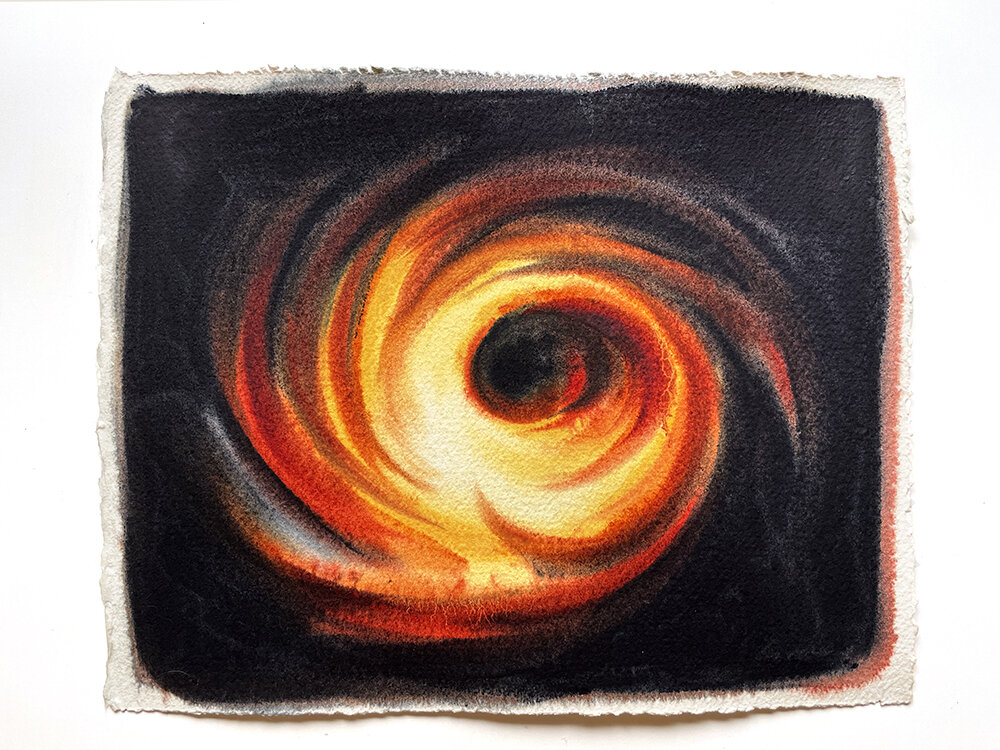
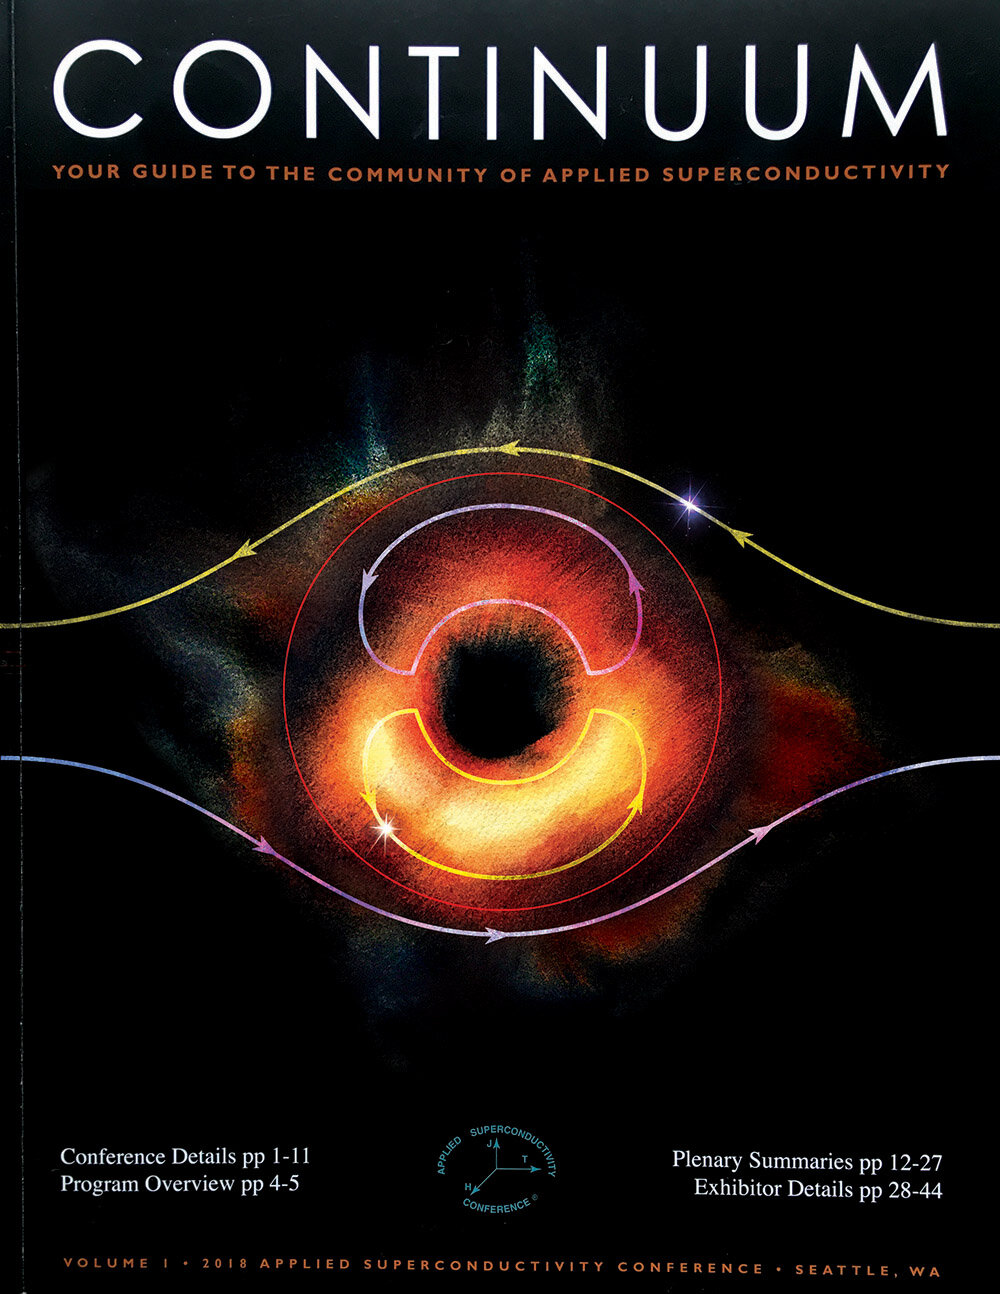
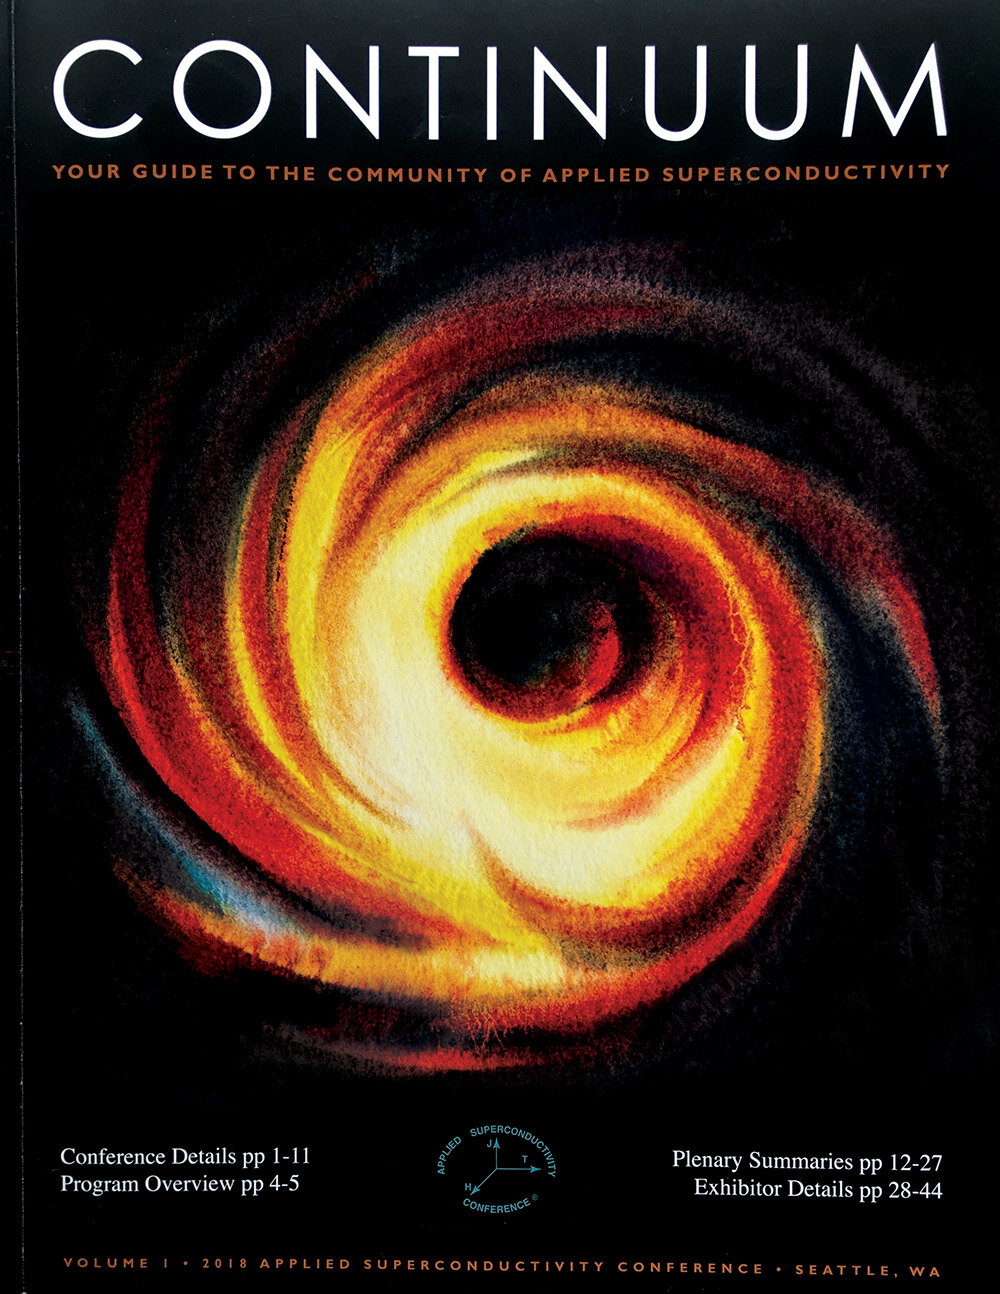
I use Rosetta spacecraft photography as my references. My medium is watercolor that I often mix myself out of pigments. The 67P paintings for the most part appear monochromatic to match the original photography, yet I introduce color for some of the work to reference the spectroscopic data collected by Rosetta. I wanted the new 2021 work look a bit different and I added a special effect, based on chromatic aberration to represent human views to the distant celestial object, which 67P is.
I can’t wait to say hello to my favorite comet of them all at the end of this year and even more so I am looking forward to new research on what comets can tell us via future space missions. Meanwhile I am not putting a full stop at the end of this sentence, my work and the work of scientists is not complete yet, there are so many more mysteries to resolve